
Tutorials
・
.
.
MODI Factory routing note guide
MODI Factory Tutorial ⑦: The newly added AI 'Routing Note' is a smart design guide that analyzes four key metrics, helping engineers intuitively establish optimal routing sequences and strategies.
MODI Factory's new feature, 'Routing note', has been added. For university students or junior engineers new to design, PCB routing can be daunting.
"Which net should I route first?"
"If this path is blocked, how do I detour?"
While existing tools only showed the results, the newly introduced AI routing note is a friendly guide that explains the characteristics of the selected net and how it is advantageous to route it. It helps engineers immediately grasp "why this net should be handled first and in this way" and build a strategy.
Today, we introduce the core features and how to use the MODI Factory AI routing note.
1. How to check routing notes in 3 minutes
Step 1. Create a project and select auto routing
Log in to MODI Factory and click [+ New project] in the top right corner.
Select the [Routing] card and proceed to the next step.
![Select the [Routing] card and proceed to the next step.](https://framerusercontent.com/images/fDizYPterZ2lrovzgmAPKgVzE.png?width=1918&height=1080)
Upload your schematic and layout files.

Step 2. Auto routing and net selection
MODI Factory executes AI auto routing.
Once routing is complete, select a net on the canvas that you are curious about regarding its routing direction or priority.
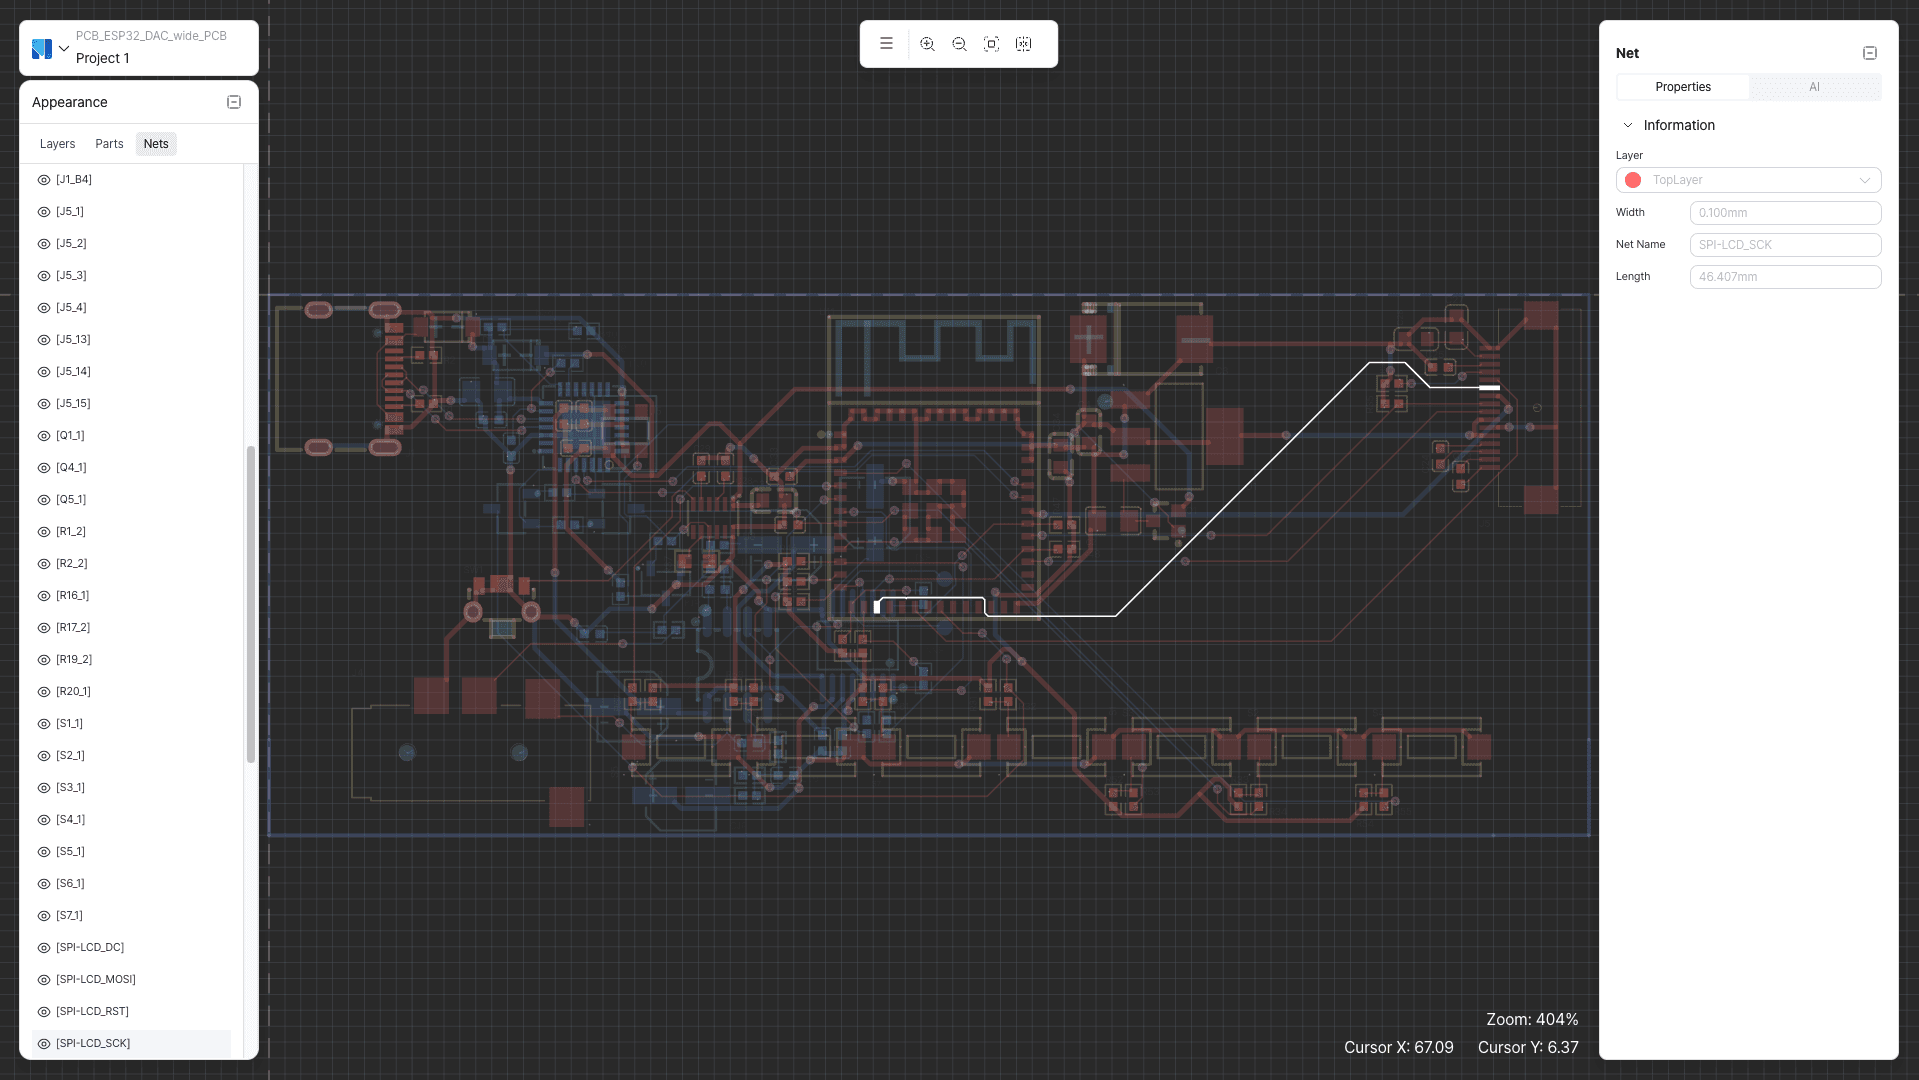
Step 3. Open AI routing note
Open the AI routing note from the right panel.
You can intuitively check the detailed analysis values and contents by hovering your mouse over the corresponding indicator.

2. How to read routing note indicators at a glance
The routing note analyzes the routing margin, congestion, intersection, and alignment necessity through four key indicators.
Indicator | What to look at | Left | Right |
|---|---|---|---|
Routing Flexibility | How many paths the signal can pass through | Abundant paths. multiple paths | Single path. only one path |
Channel Congestion | How crowded the path is with other routes | Spacious. the channel is empty | Congested. the channel is crowded with nets |
Crossing Frequency | How often airwires overlap before routing | Low crossing | High crossing |
Alignment Sensitivity | How much alignment is needed with the paired net | Independent. alignment not required | Alignment required |
Routing Flexibility
It indicates how many paths the signal can pass through.
Practical interpretation: If the bar is on the right (single path), it means there is almost no path to detour. If another net occupies that path first, this net may have nowhere to go, so it is better to route it first. Conversely, if it is on the left (abundant paths), there are alternative paths even if blocked, so you can postpone the routing order.
Channel Congestion
It analyzes how crowded the corresponding path is with other routes.
Practical interpretation: If the bar is on the right (congested), it means the section that must be passed is already crowded. If you work on it later, you may have to make a big detour or the path may be completely blocked. If it is on the left (spacious), the channel is empty and there is almost no competition.
Crossing Frequency
It shows how often airwires overlap before routing.
Practical interpretation: If the bar is on the right (high crossing), it frequently overlaps with other nets. Setting this reference path first can reduce subsequent detours and modifications. If it is on the left (low crossing), there is almost no overlap, so the order has little impact.
Alignment Sensitivity
It determines how much alignment is needed with the paired net.
Practical interpretation: If the bar is on the right (alignment required), it shares many of the same sections with the paired net. Therefore, they must be routed together while matching the spacing and alignment. If it is on the left (independent), there are almost no sections to match in parallel.
Tip. The four indicators are different questions.

