
Tutorials
・
.
.
Stuck on component placement? Get it done in 30 minutes with MODI Factory
Ever opened a PCB layout and felt completely stuck? If you're not sure where to start with placement, MODI Factory's AI is here to take over the heavy lifting.
You can usually push through schematic capture. But the moment you open the PCB layout editor and start placing components, progress stalls. Once your design exceeds 50 components, knowing where to begin becomes genuinely overwhelming. Factor in signal flow, thermal distribution, and functional grouping, and a single placement session can easily consume hours.
MODI Factory automates this entire process with AI. Upload your schematic and PCB layout files, and the engine runs physics-based automatic placement — returning results in an average of 30 minutes, along with design rationale comments for every decision it makes.
In this guide, we'll walk you through the complete workflow from account creation to your first completed placement, step by step.
📍 Before you begin: what you'll need
MODI Factory currently supports KiCad and EasyEDA file formats. Before getting started, make sure you have both of the following files ready.
Schematic file (.kicad_sch or EasyEDA JSON)
PCB layout file (.kicad_pcb or EasyEDA PCB JSON)
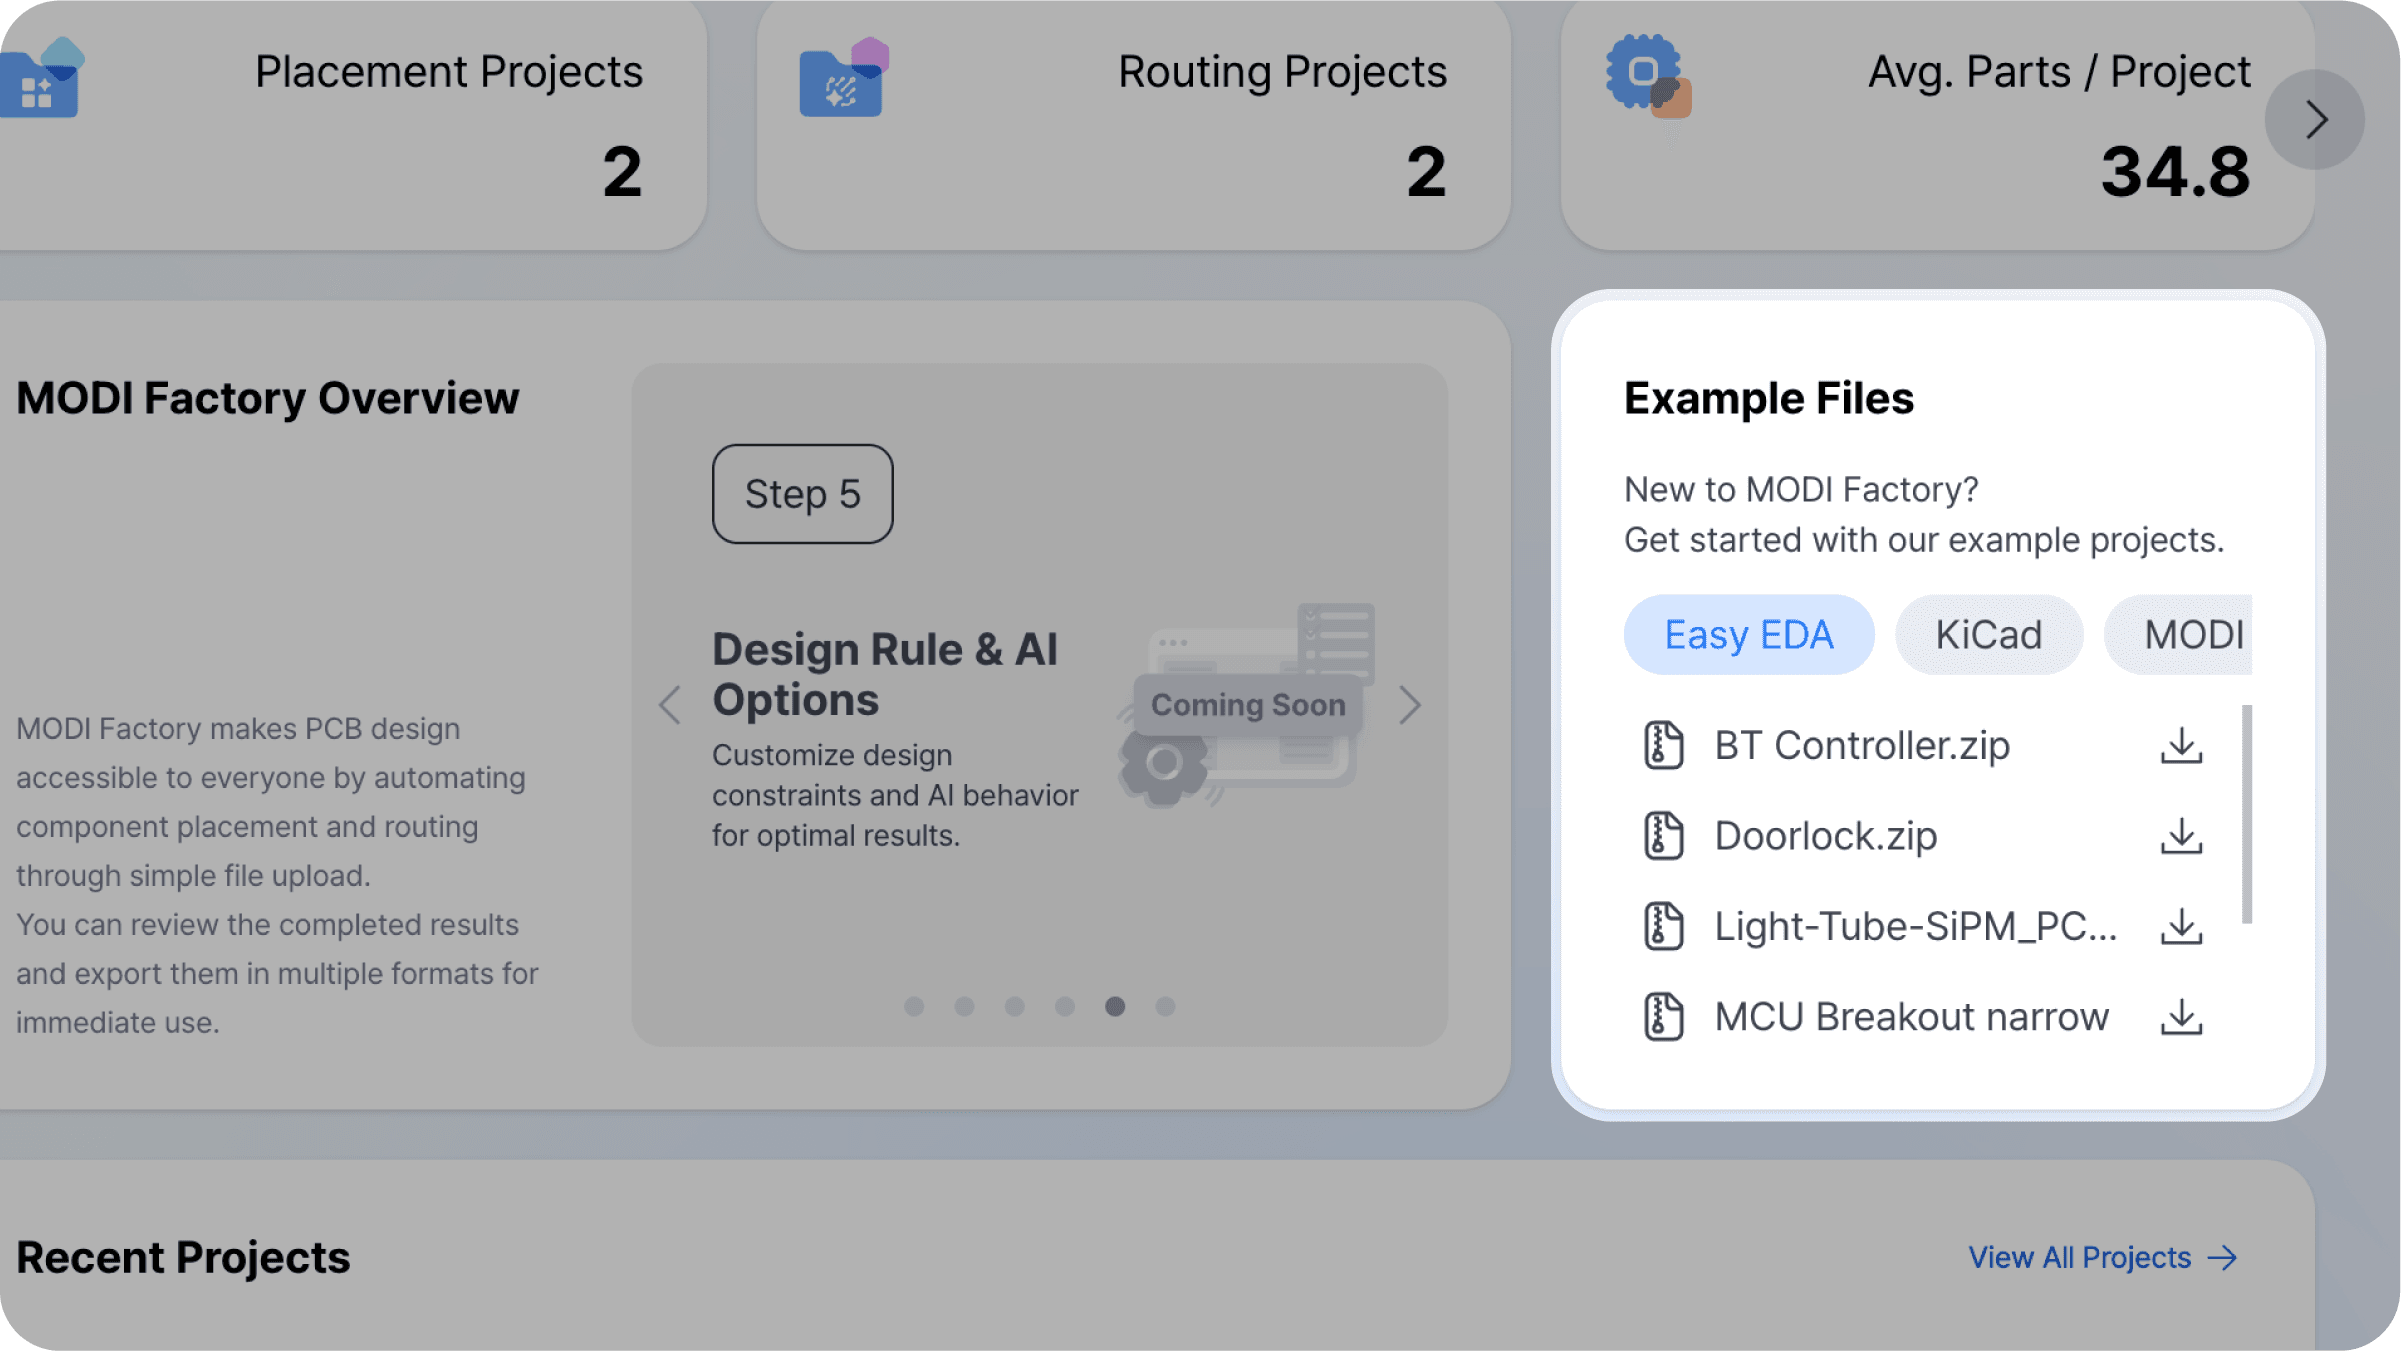
If your files aren't ready yet, we recommend starting with MODI Factory's built-in sample files to get a feel for the full workflow first. Running through it once with sample data makes everything significantly smoother when you switch to your own design.
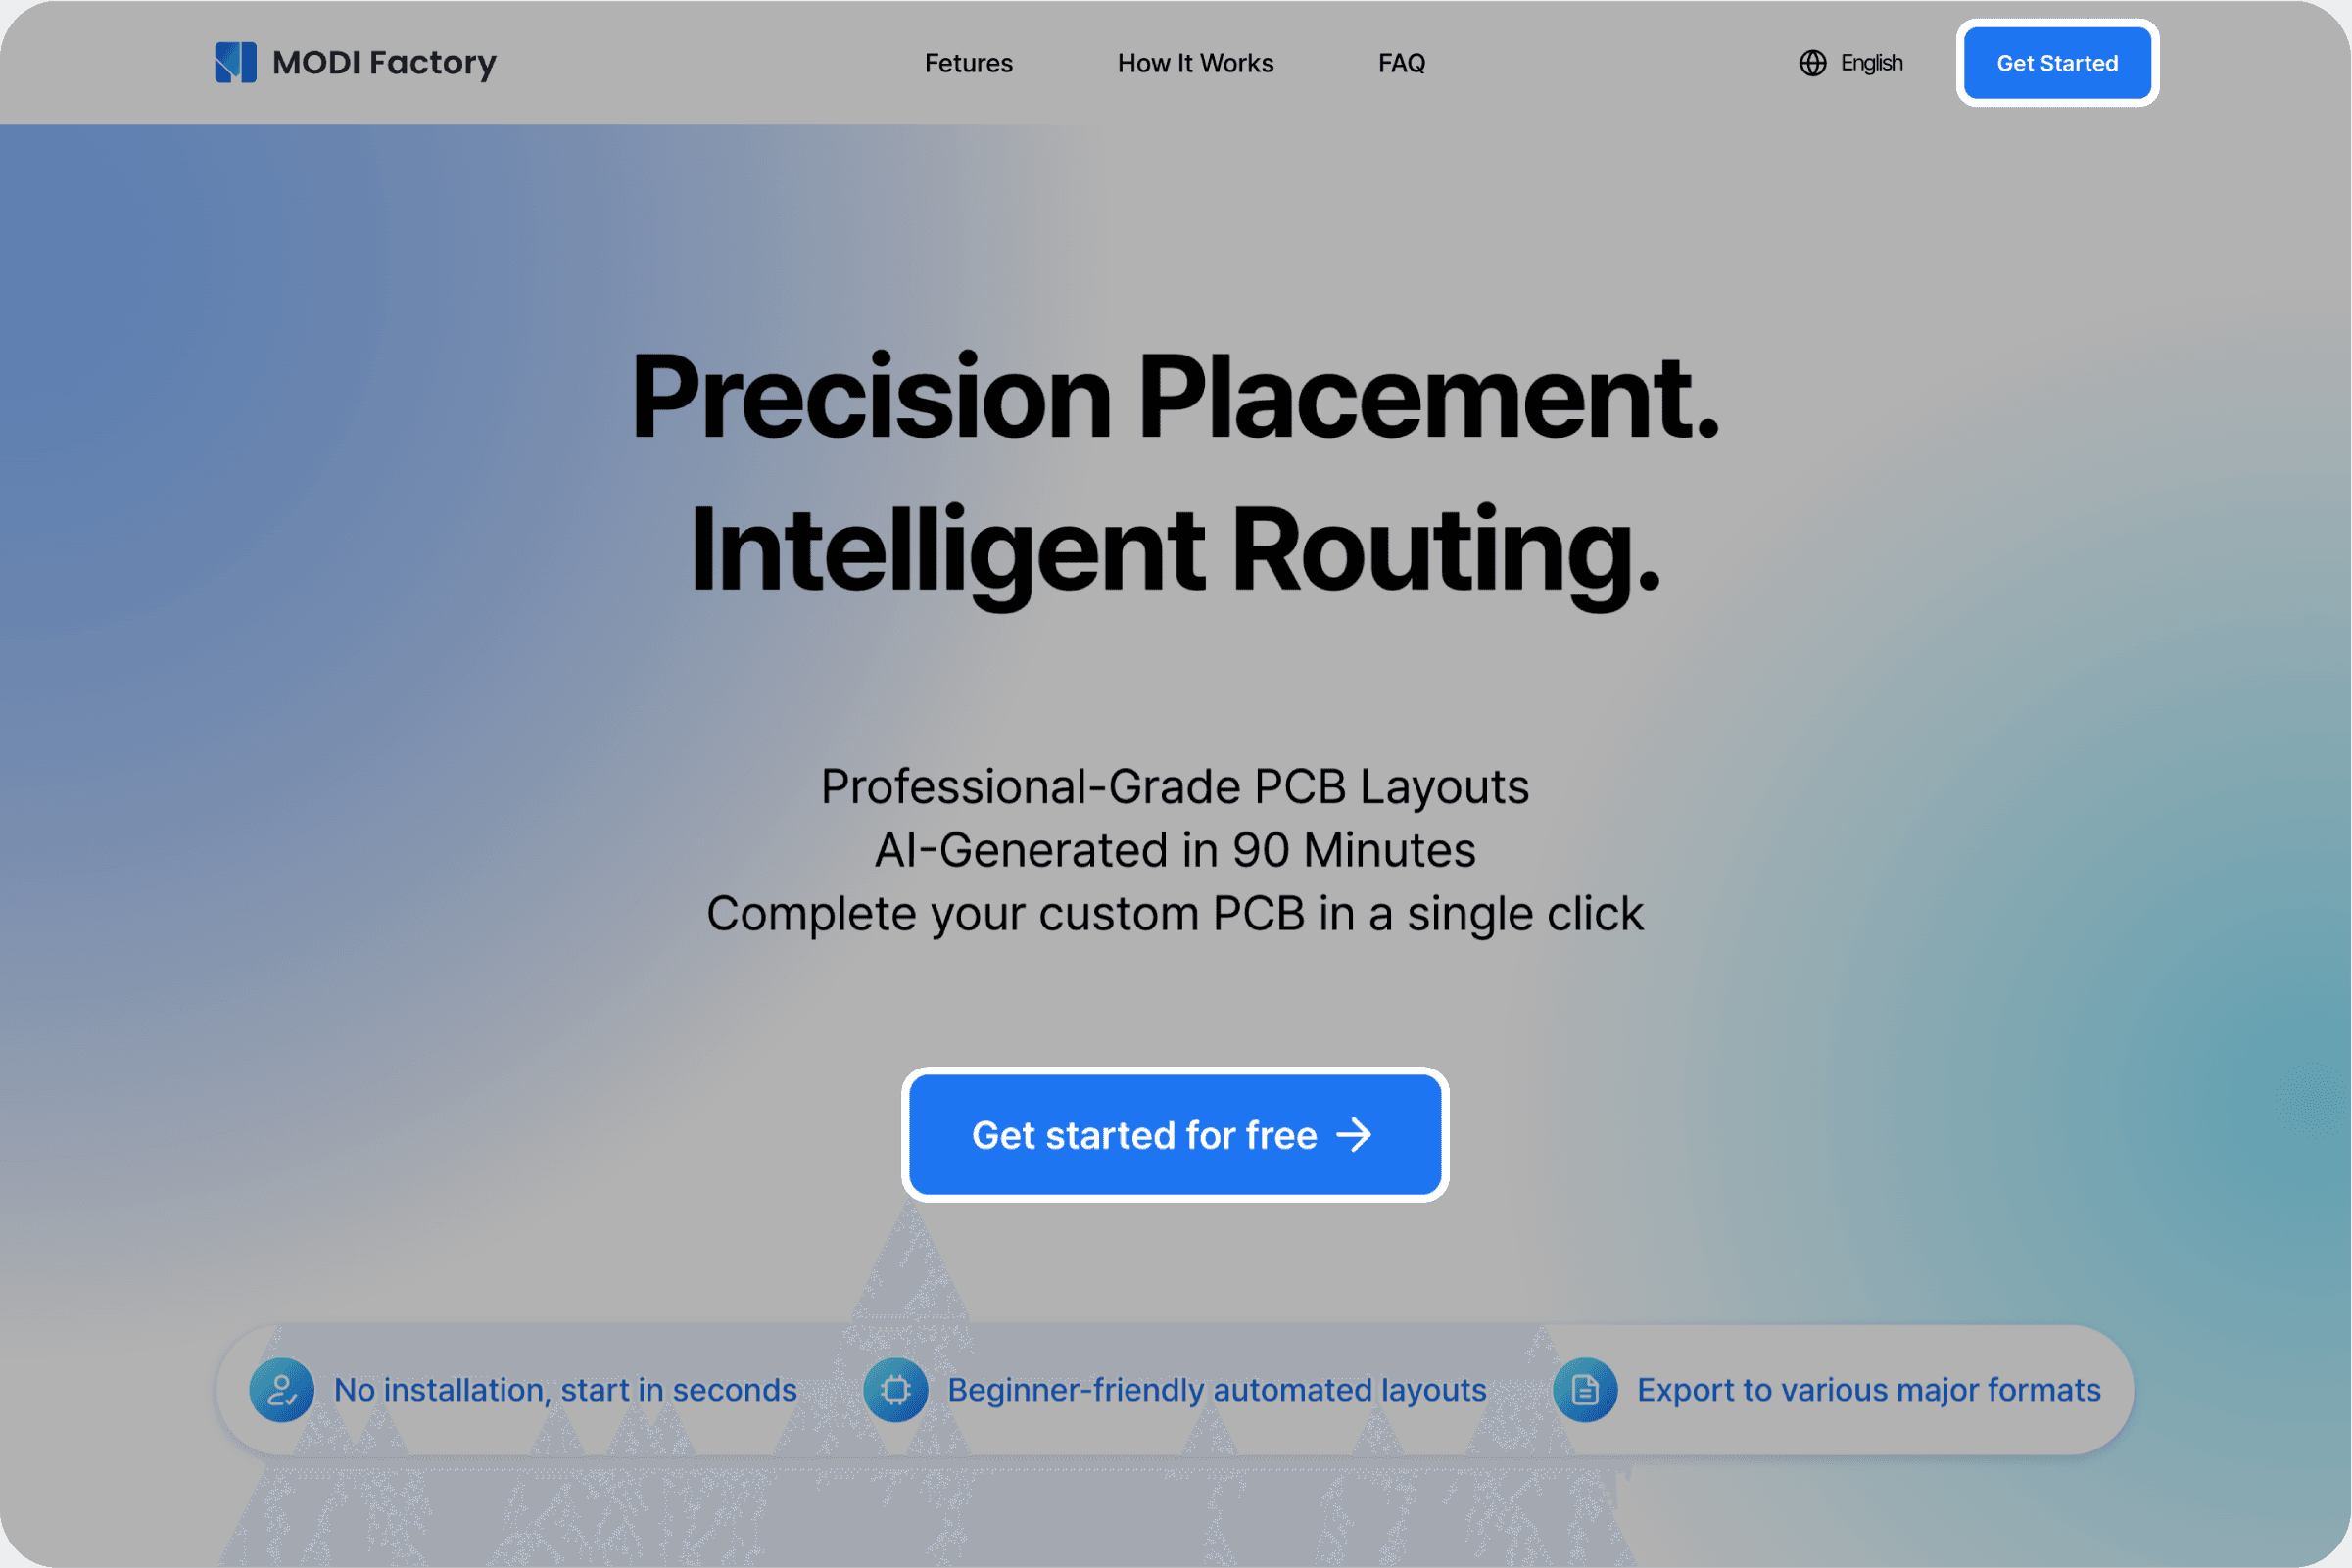
Step 1. Create an account and access the workspace
Go to modifactory.com and click [Get Started] in the top-right corner, or [Start for Free] on the main landing page. All you need is an email address — no credit card or payment required. During the early access period, all paid features are available at no cost.
After signing up, you'll be taken directly to your workspace. No software installation needed — everything runs in the browser.
Step 2. Create a new project and select Placement
From the workspace, click [New Project] to open the feature selection screen. MODI Factory offers two independent AI modules: Placement and Routing. For this guide, select Placement.
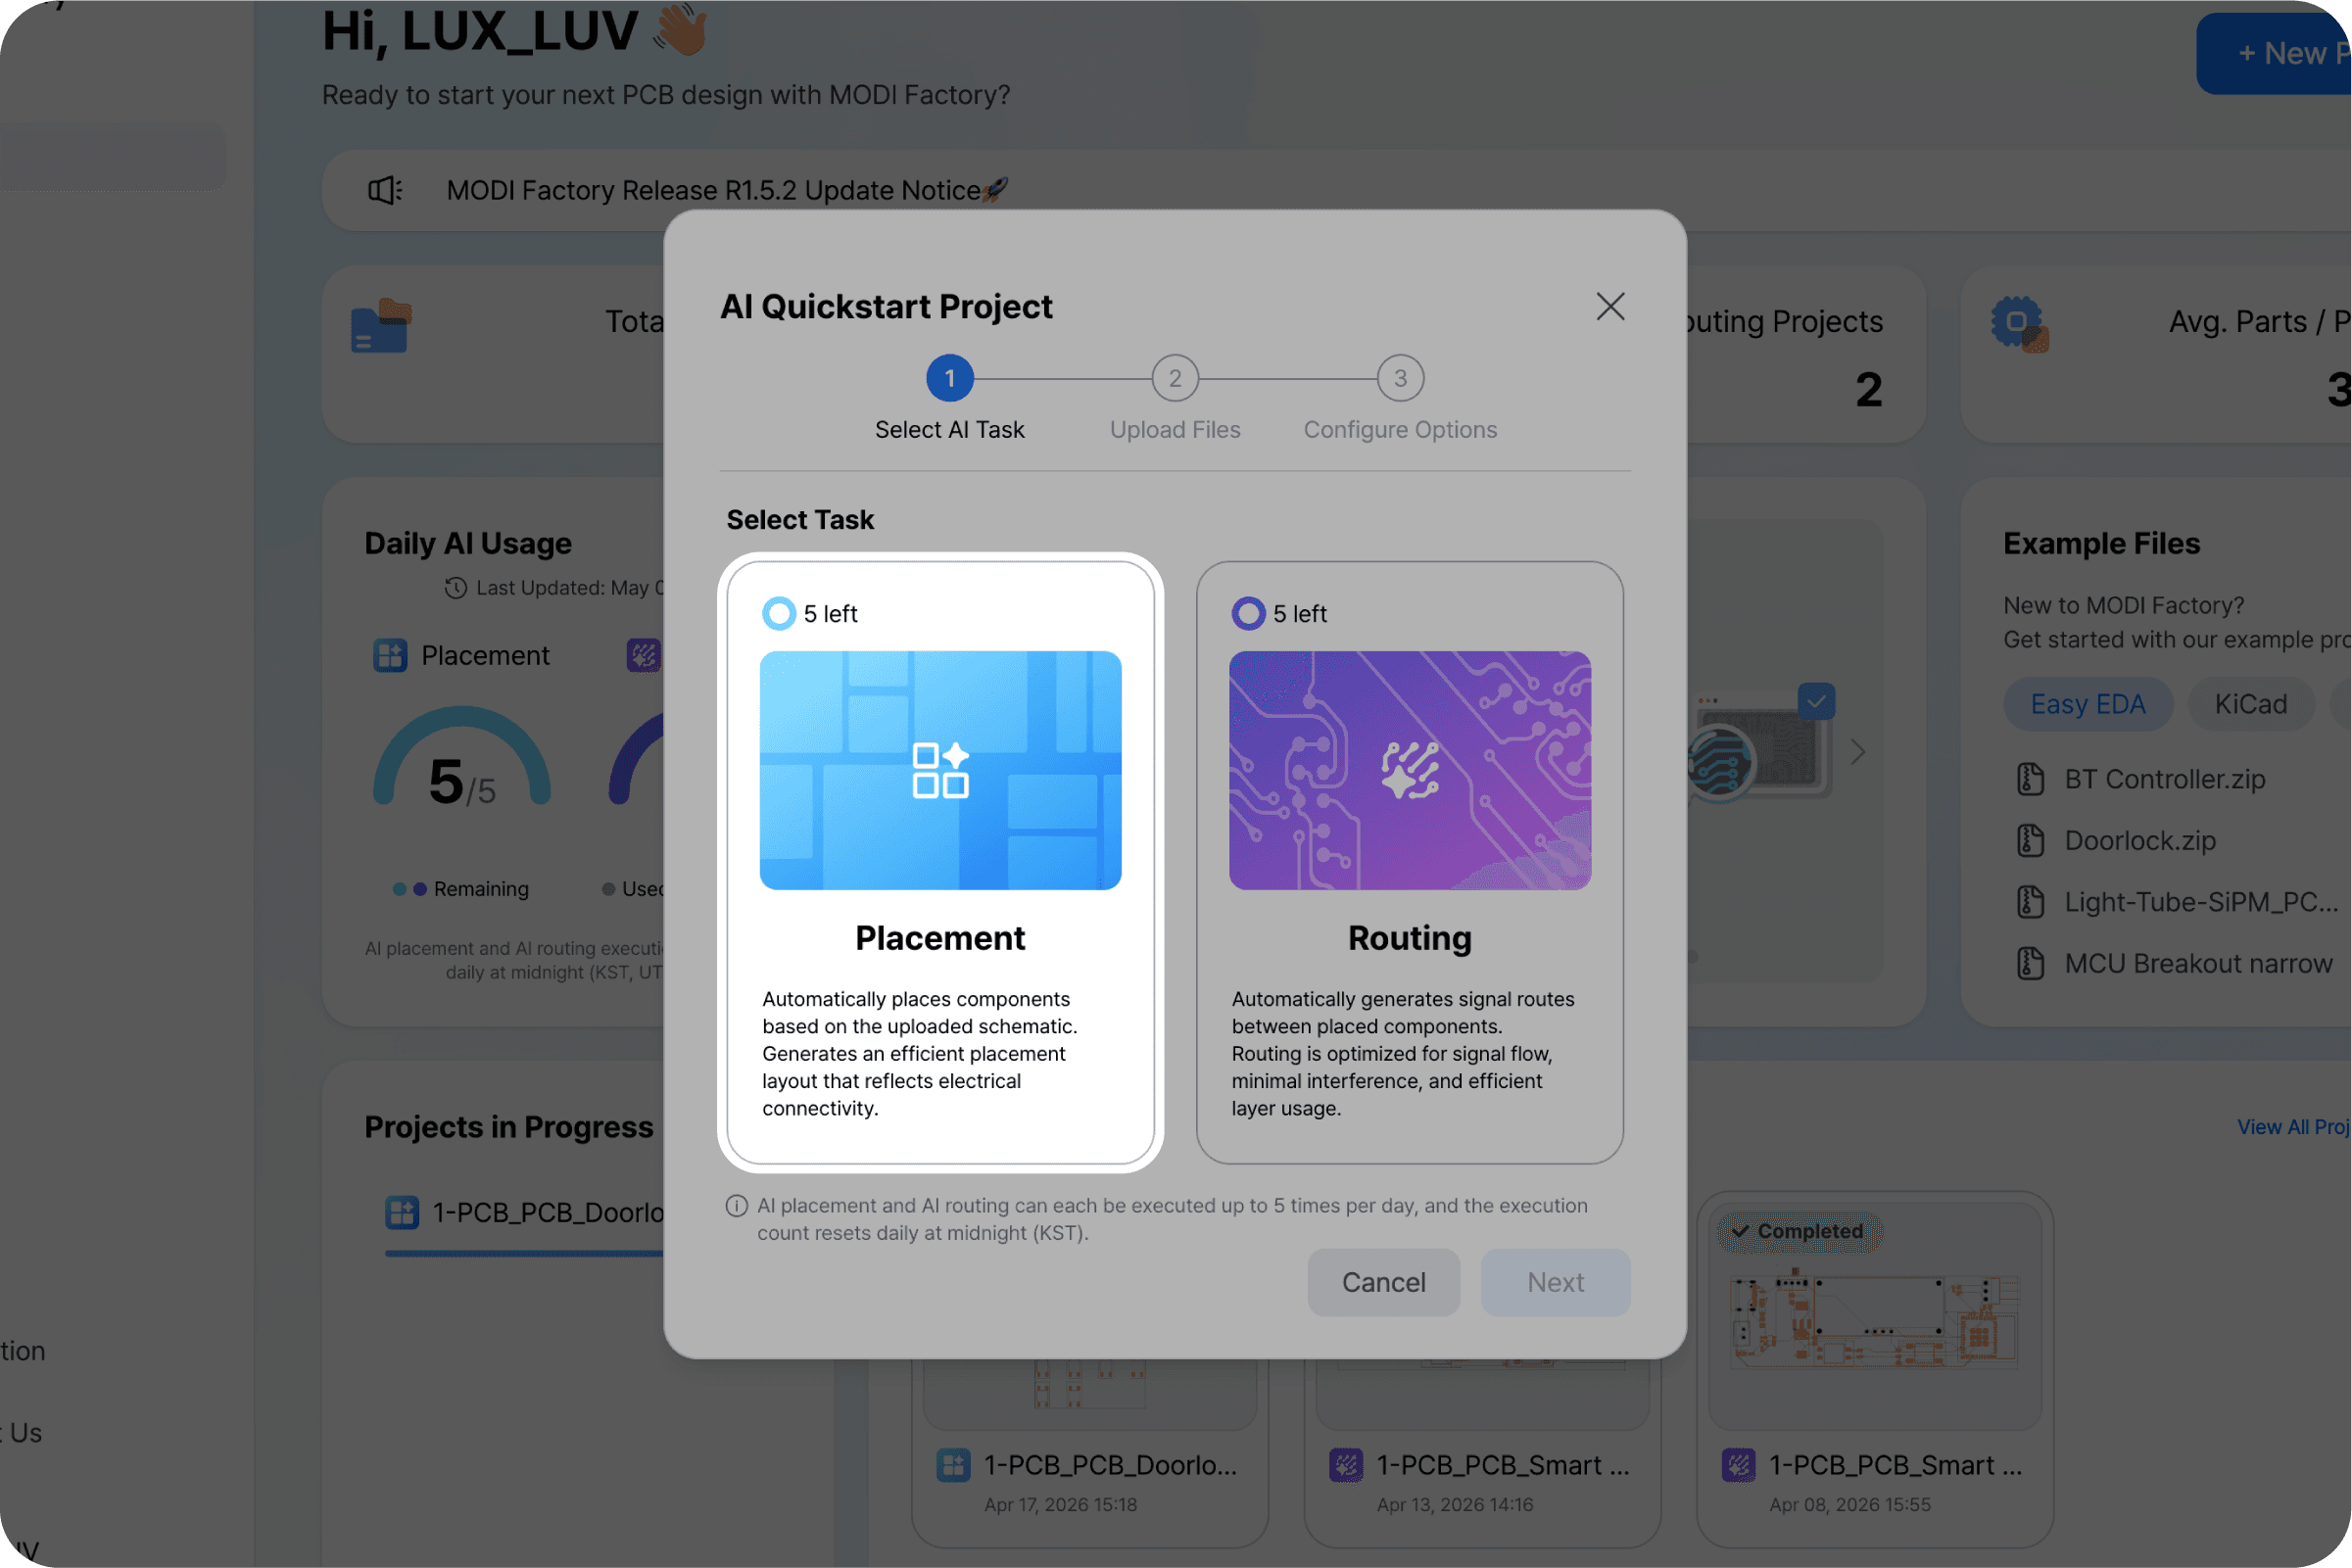
This modular architecture gives you full flexibility — you can let the AI handle placement while routing manually, automate routing only, or run both end-to-end.
Step 3. Upload your files
After selecting Placement, you'll be directed to the file upload screen. Upload your schematic file and PCB layout file into their respective upload areas.
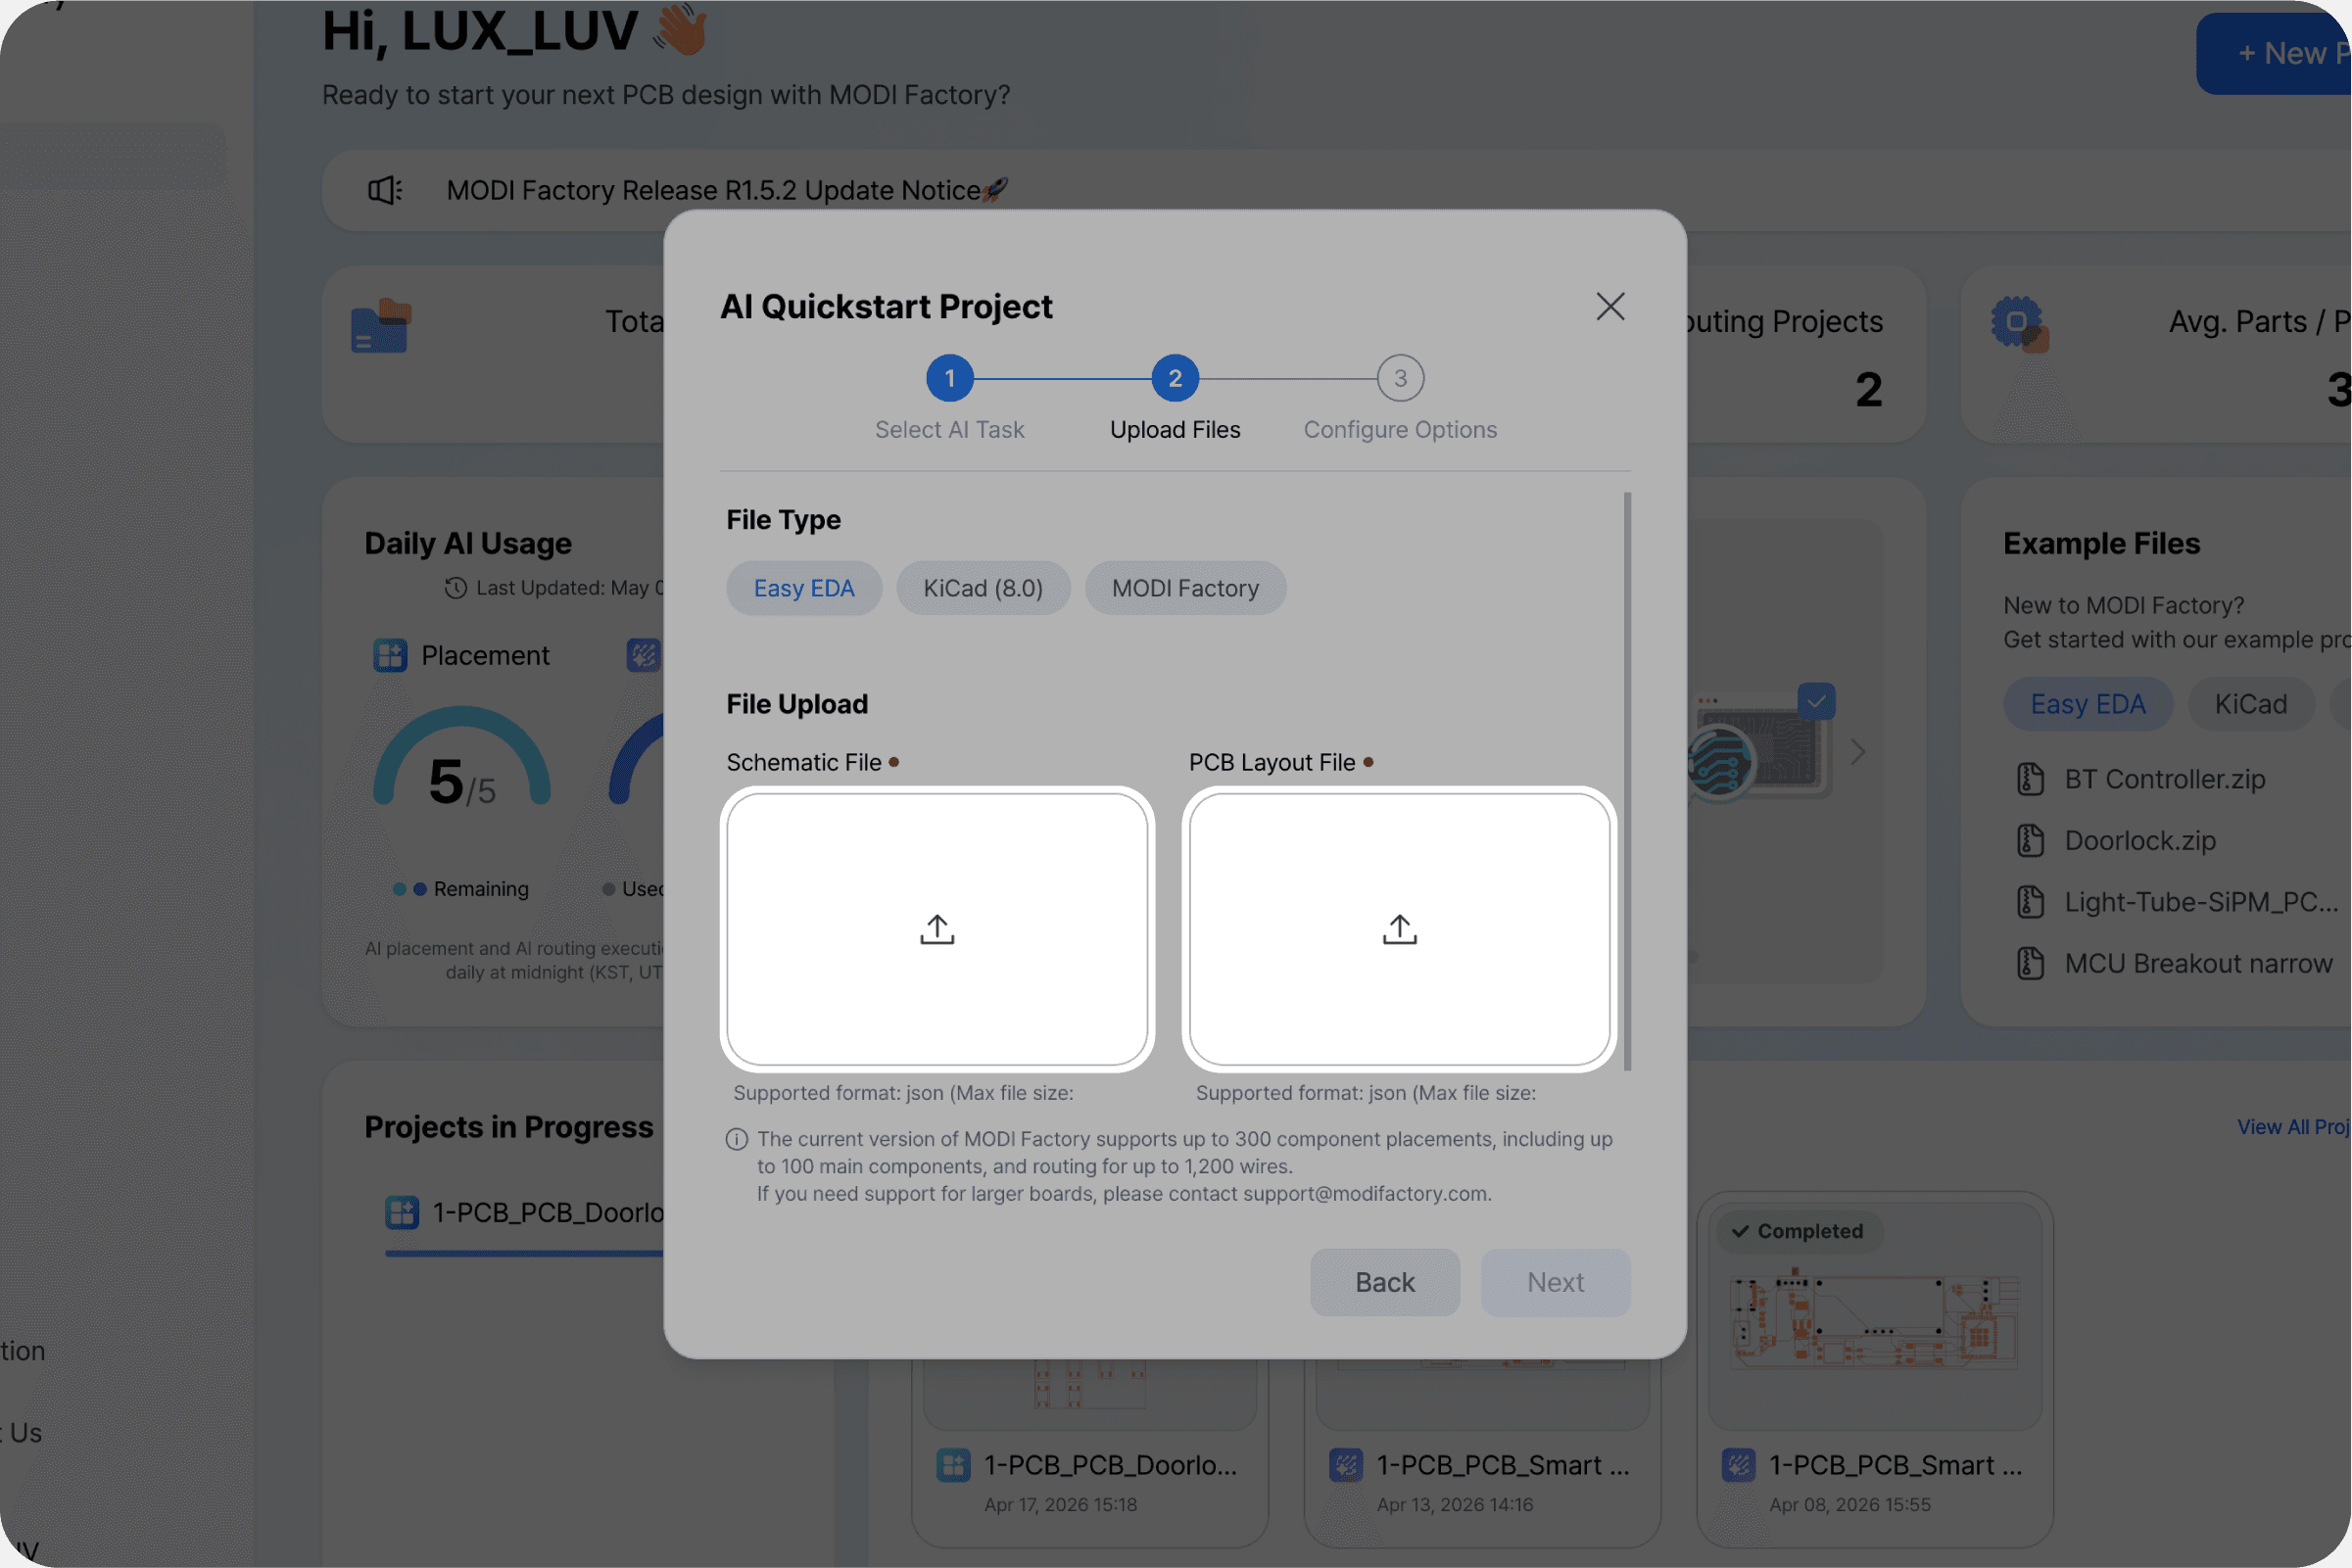
Before uploading, run through this checklist to ensure the best results.
⚠️ Pre-upload checklist
Confirm that net names in your schematic match those in your PCB layout file.
For KiCad, verify the Electrical Rules Check (ERC) returns no errors.
Make sure you're uploading the most recently saved version of each file.
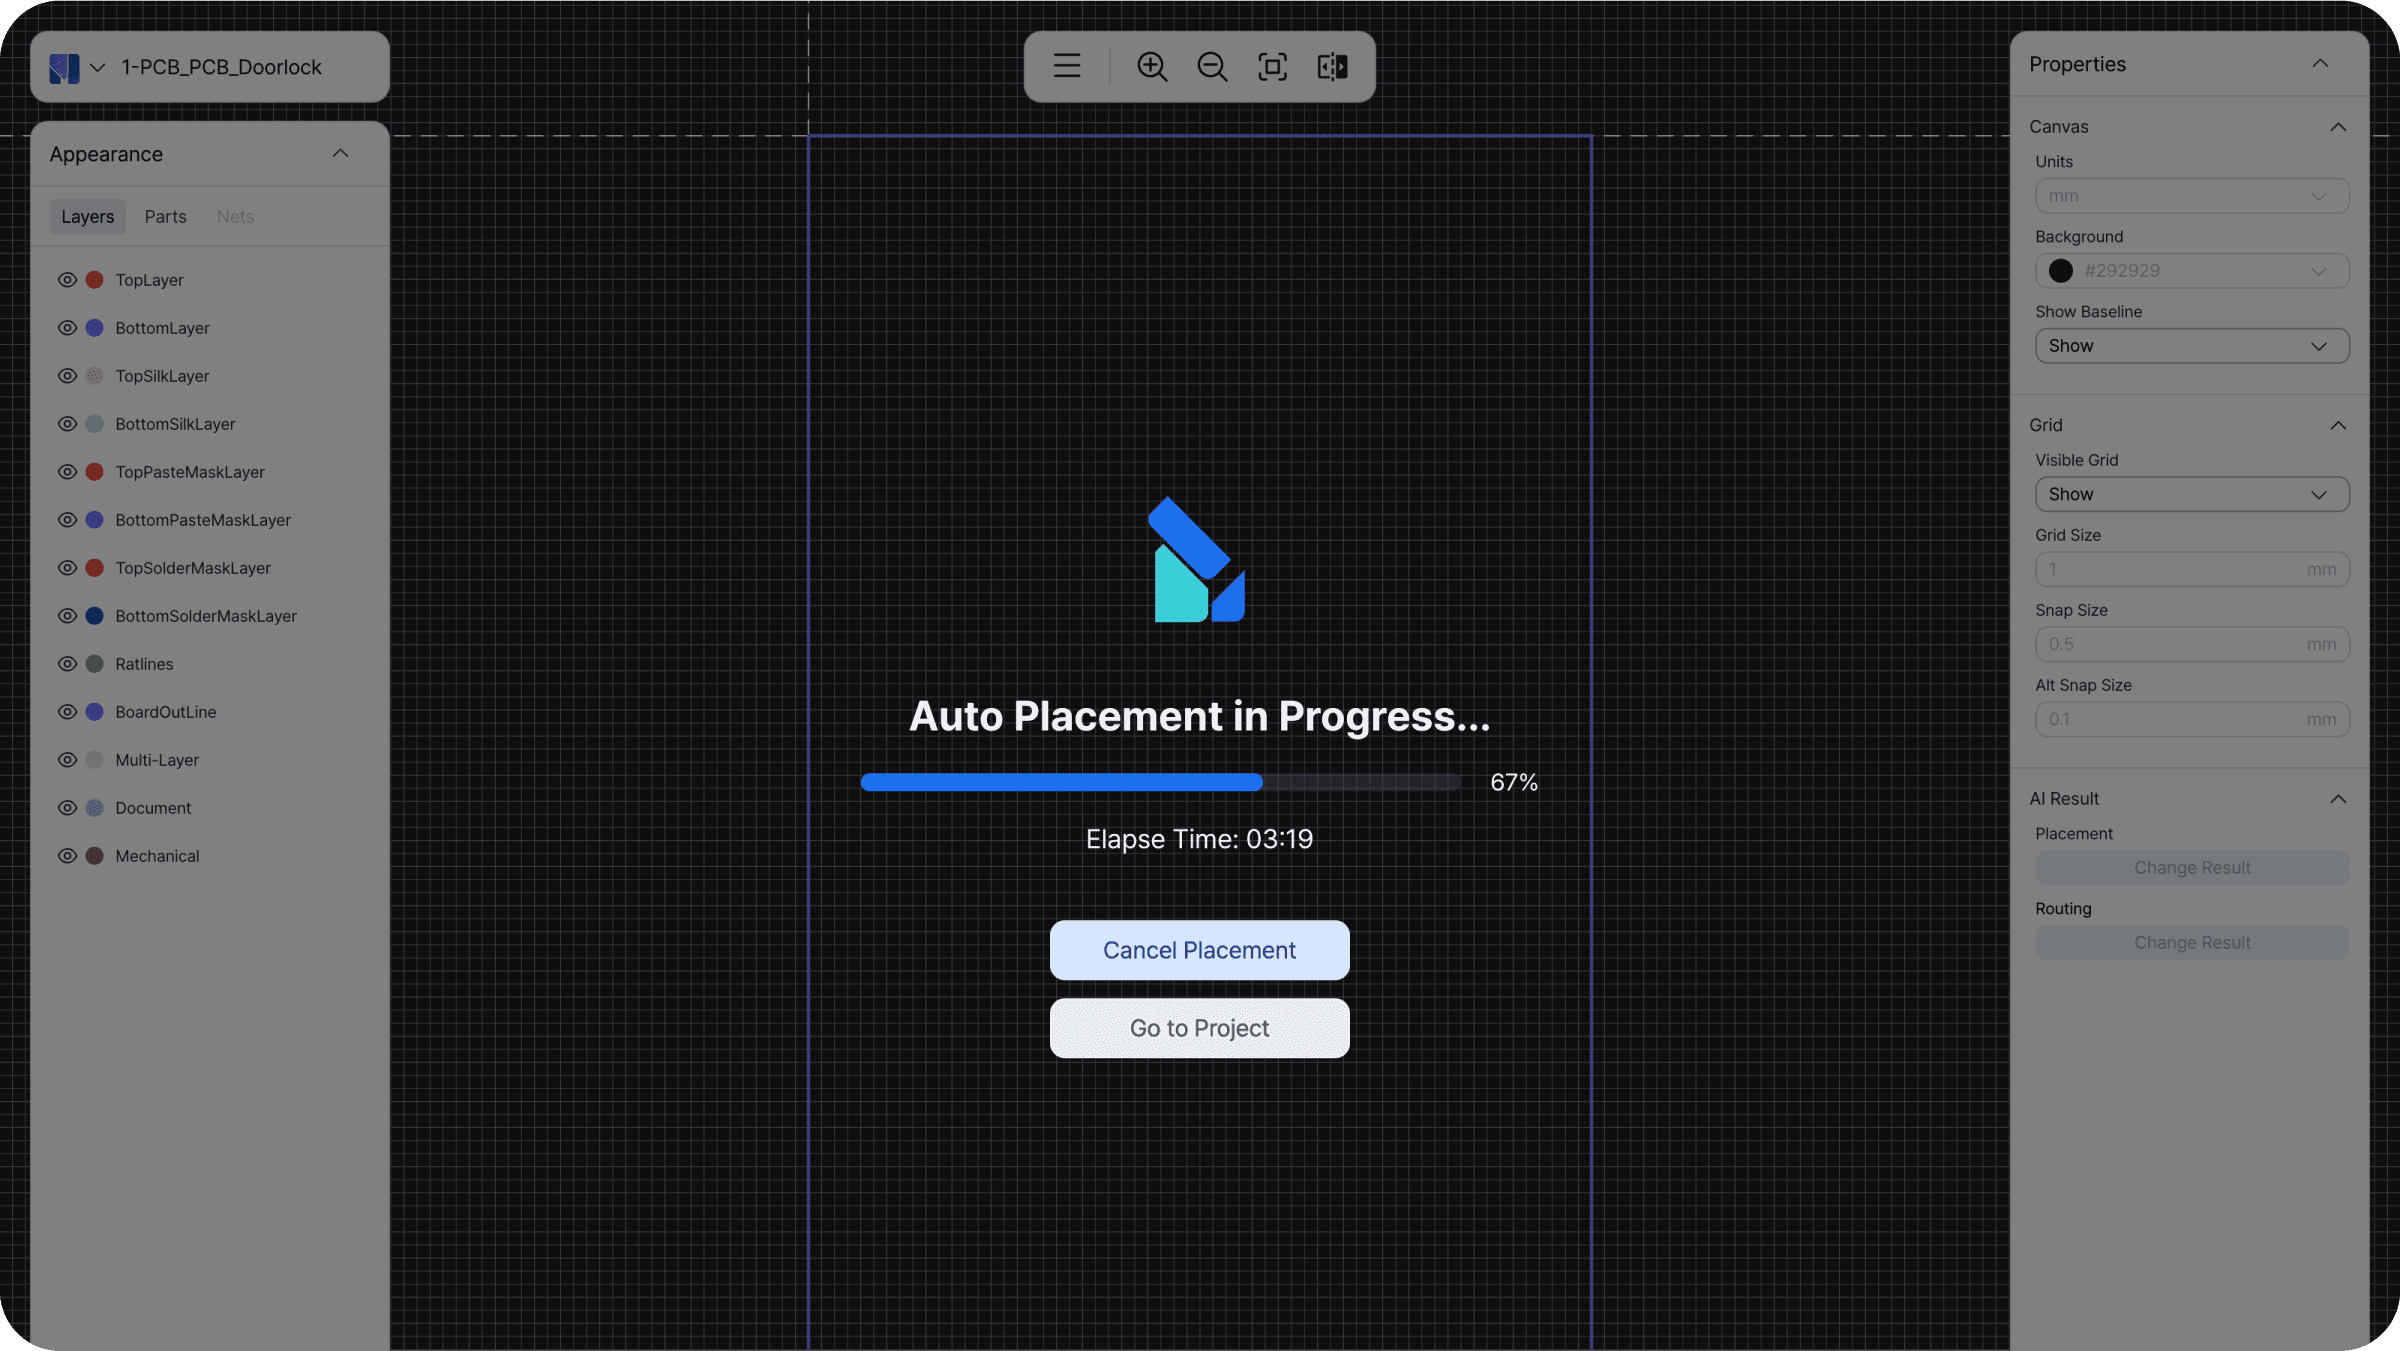
Step 4. Run AI placement
Once your files are uploaded, click [Next]. The AI validates your design against physical constraints and runs automatic component placement. The entire process completes within 30 minutes.
💡 How to use the wait time
Browse the MODI Factory FAQ to get ahead of common questions, or read through the next tutorial on Routing — it'll give you a clearer picture of the full design workflow before your results come in.
Step 5. Review results and read AI design comments
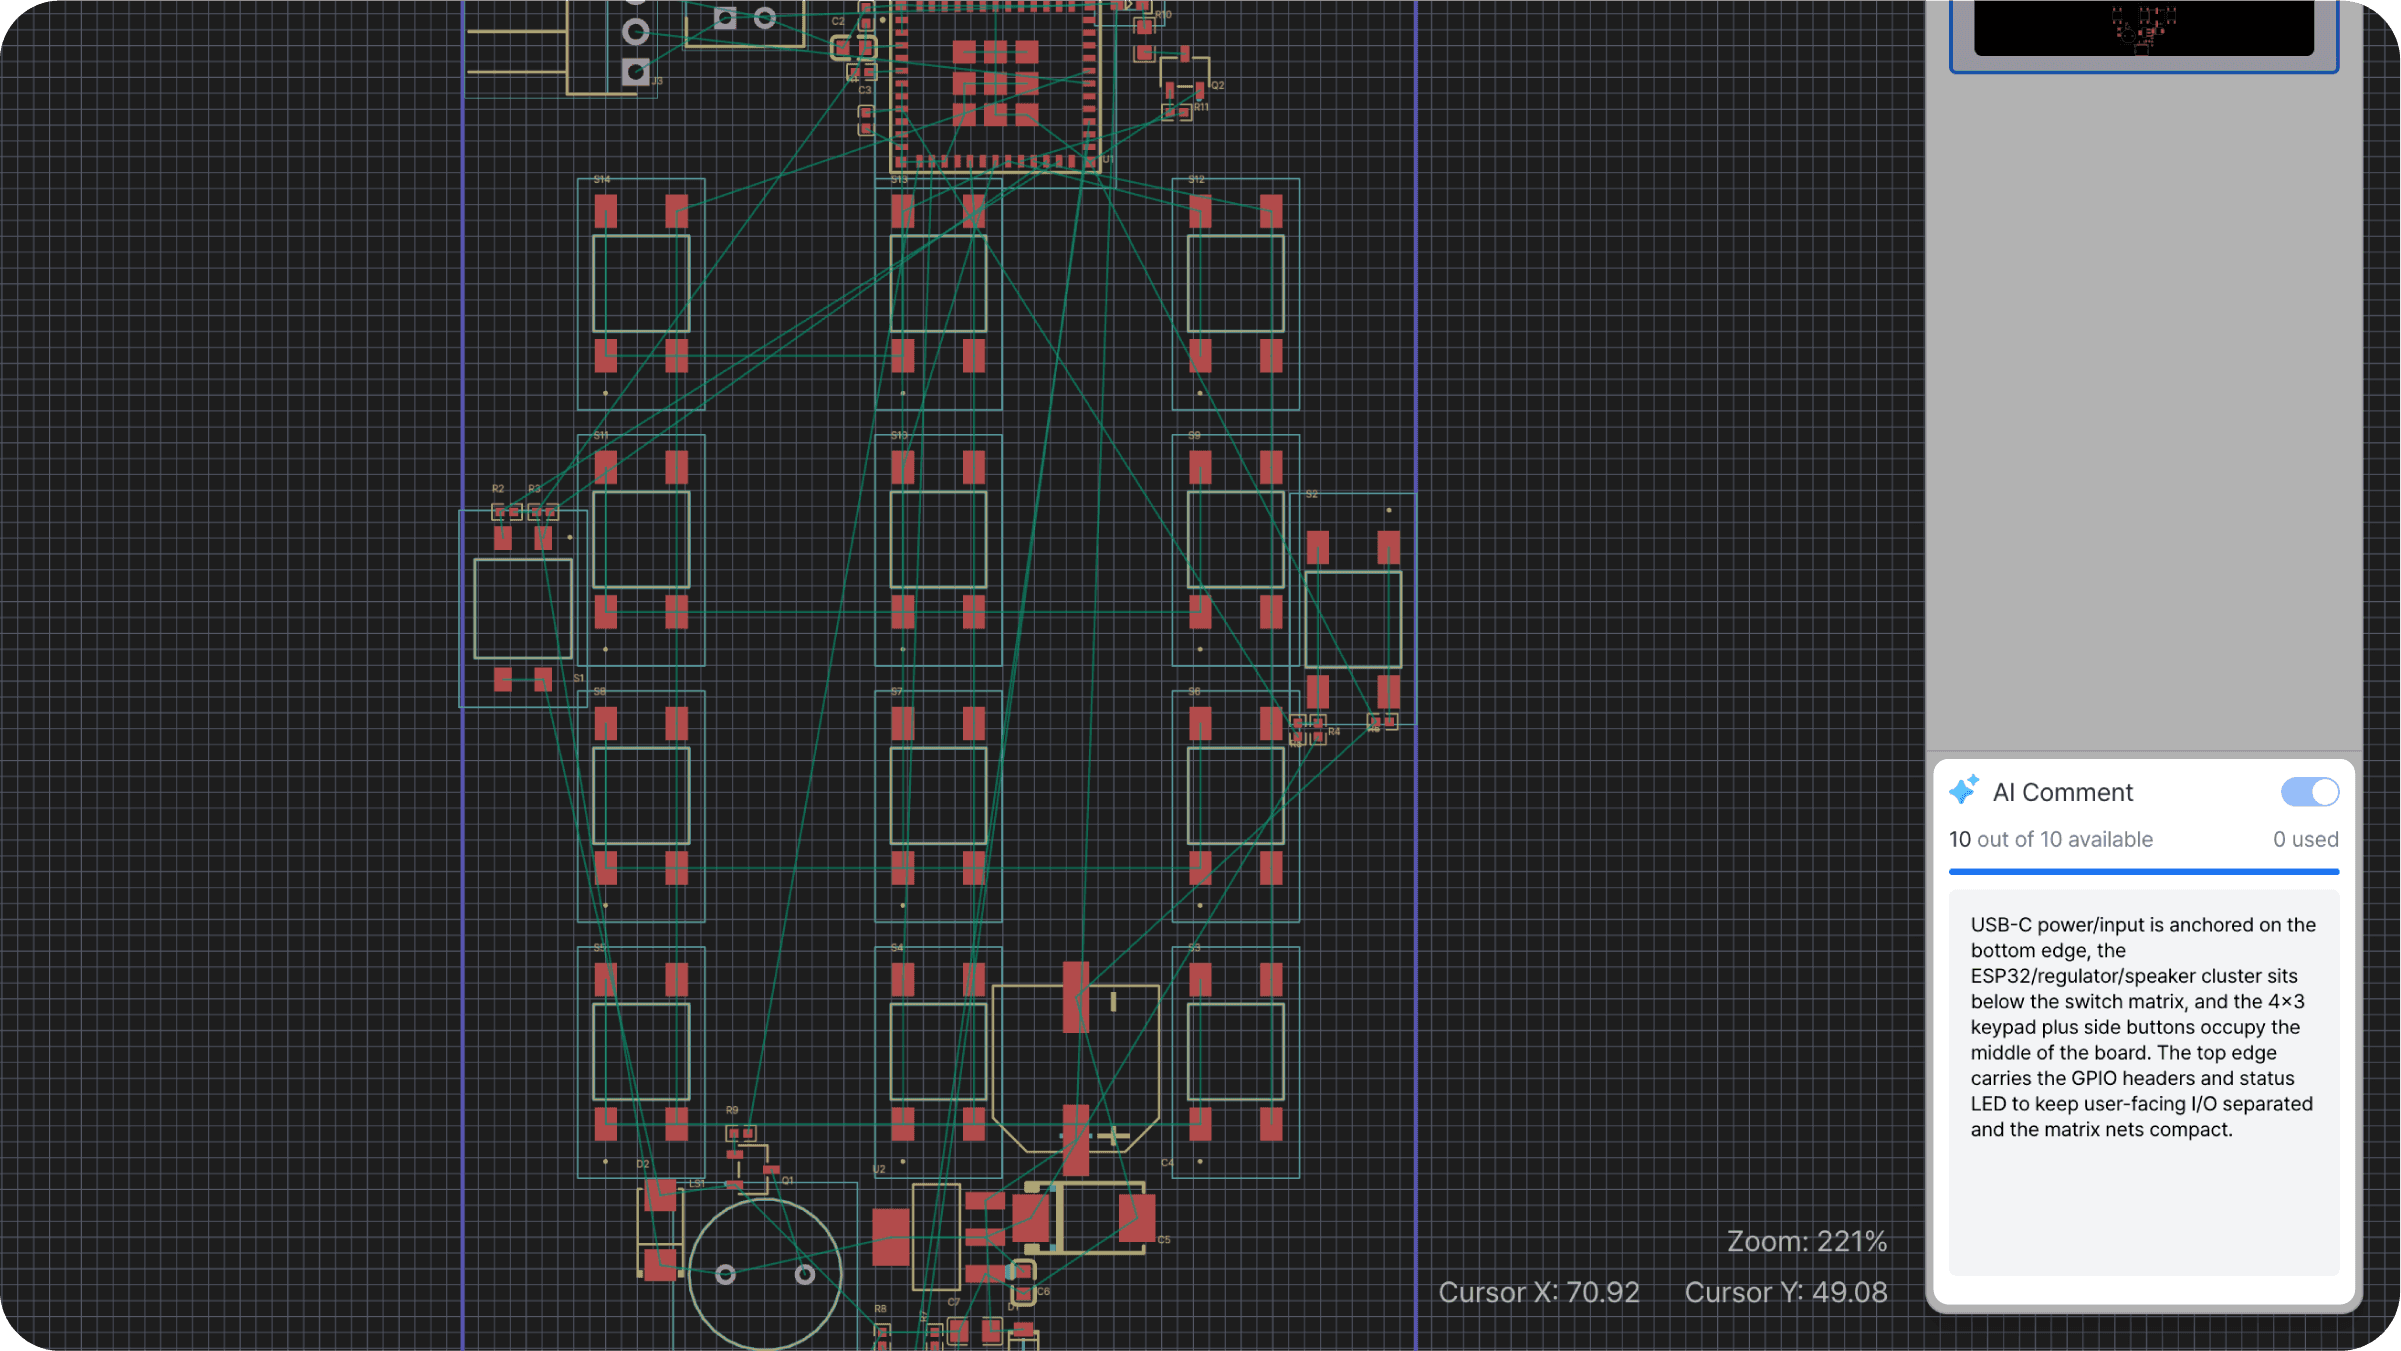
When placement is complete, you'll be taken to the results screen. You can visually inspect the finished PCB layout and review the AI-generated design rationale comments alongside it.
AI comments are available in two formats.
① Board-level comment — displayed by default in the right panel. Explains how the AI structured the entire board: which functional groups were identified, where they were placed, and why.
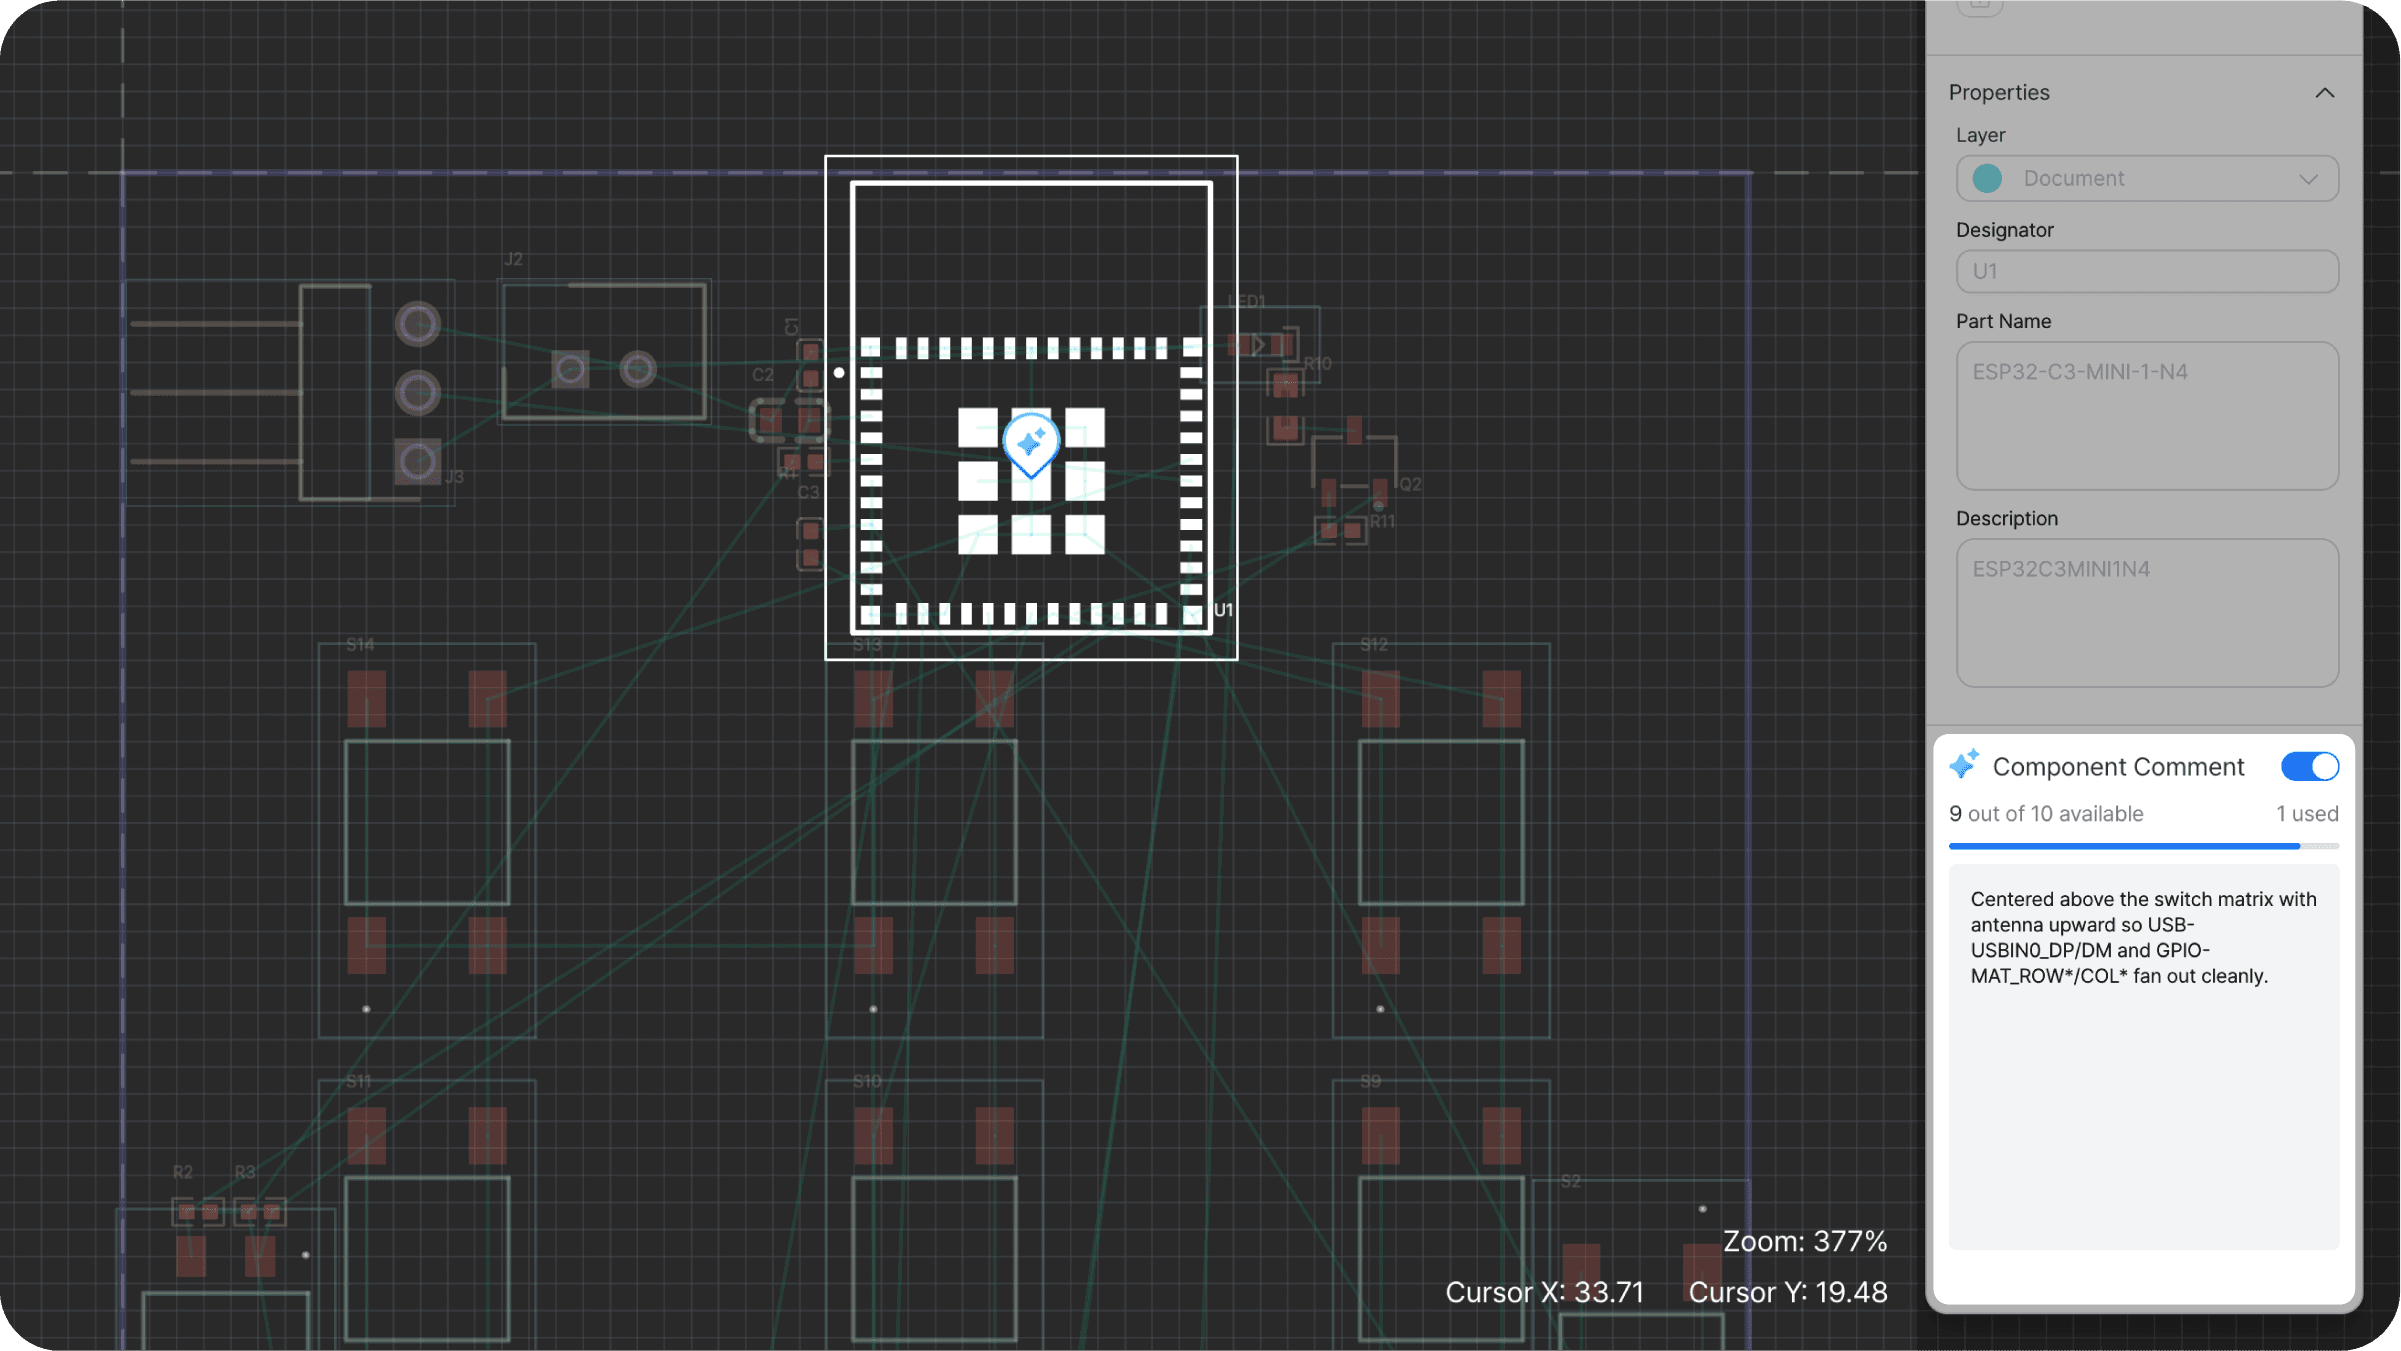
② Component-level comment — click any individual component to see a placement rationale specific to that part. If a component's position warrants closer inspection, click it to understand the AI's reasoning directly.
Step 6. Download your results
Once you're satisfied with the placement, export the results in whichever format fits your next step.


